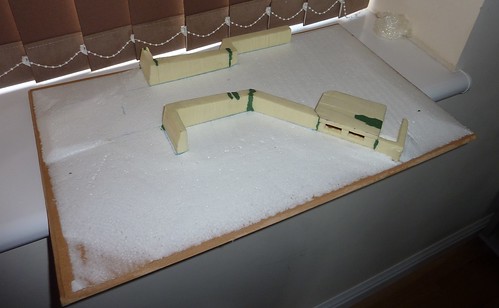
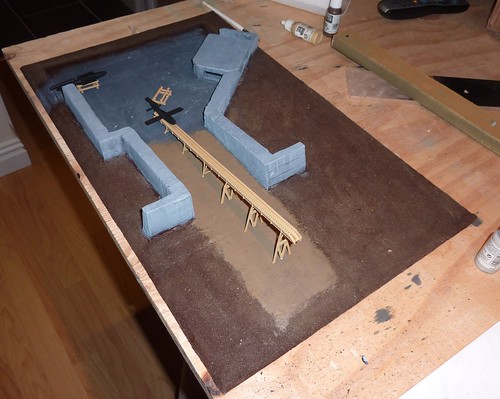
The last article finished with the V1 Launch Pad looking more like a complex but still a long way from finished. Whilst the ruler guide had made the foam cuts straighter there were still gaps to fill and I was concious that the Polystyrene was a long way from looking like concrete.
The first thing I did was to use the Hot Wire Cutter to profile the polystyrene and add a bit of a curve from the raised centre to the lower level of the edges,. The exception was the ramp of earth the rail sits on and the hard standing, both of which stayed level with an abrupt curve-off.
I then used green stuff to fill in some large gaps on the wall and, once it had cured, applied polyfiller over the top of it to restore some texture.
 |
| Terraformed! |
 |
| The "backyard" |
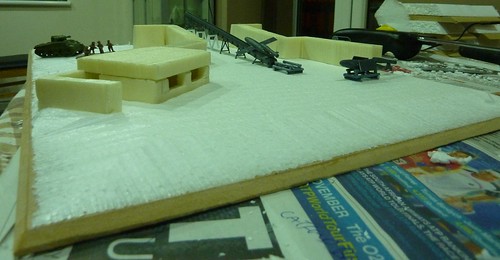
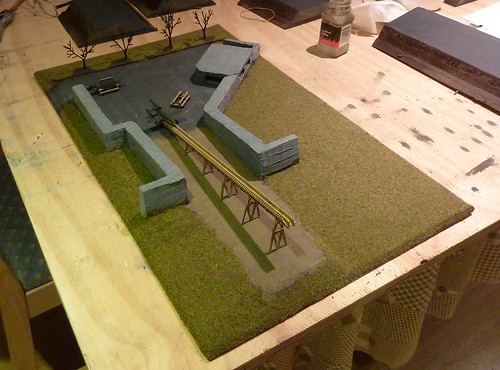
Once that was dry, I applied PVA to the non-hardstanding areas and then sprinkled kiln dried sand over it.
 |
| Always have a\ ready source of hot water for tea nearby. This may be too "nearby" |
 |
| All the shades of the "dirt" spectrum at the moment |
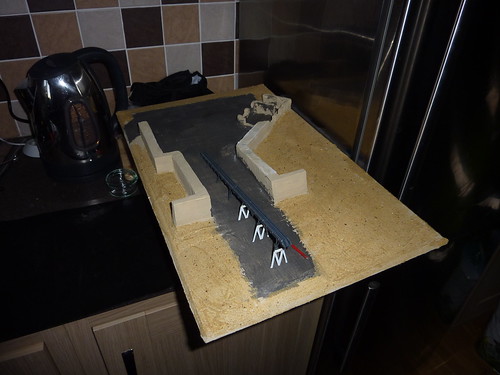
The sand covered areas were drubrushed fairly heavily with "US Field Drab" and then a lighter drybrush of "Buff"
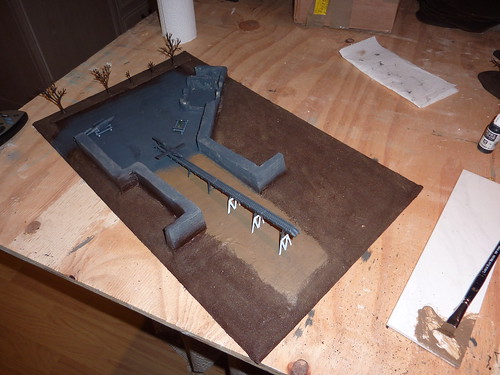
The walls were wetbrushed with "London Grey", leaving the darker base grey (about equivalent to "German Grey". I then picked out the edges with a 50:50 mix of "London Grey" and "Sky Grey". Finally, I added some more water to that mix and applied fade lines on the vertical sides by loading the brush with paint and dragging it upwards slowly and smoothly, allowing a line to start at a point and splay out by the top of the wall. It's a similar technique to what I do on the tanks.
The hard standing was drybrushed "London Grey". I noted on the original photo that I copied that the area between the narrow walls under the rail looked like it was just loose dirt so I painted it "US Field Drab" and drubrushed it "Buff" to give a suitably earthy look.
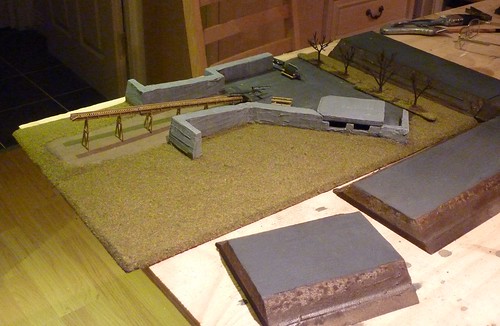
As a final bit of weathering for the hard standing and walls I watered some "US Field Drab" down to the consistency of a wash and applied it over the lower fifth of the walls and all over the hard standing to represent ingrained dirt. Once dry, I lightly drybrushed the walls and Hard Standing with Buff to get a dusty look, especially on teh top of the walls and bunker.
 |
| A bit livlier |
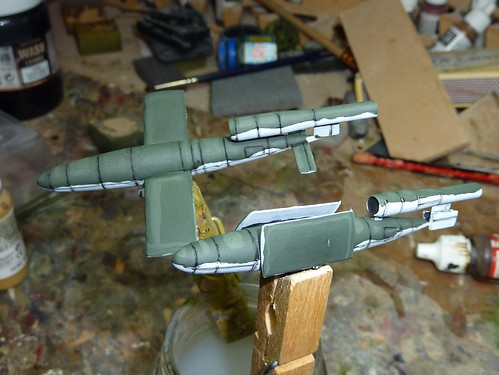 |
| The V1 get ready for a cross-channel flight. Although one may have forgotten something... |
 |
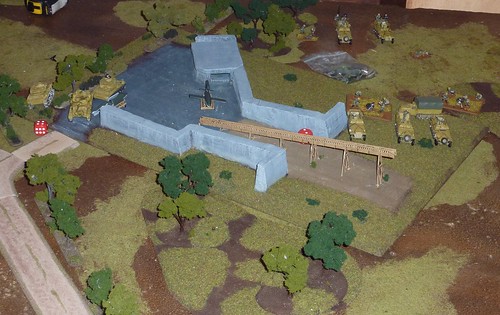
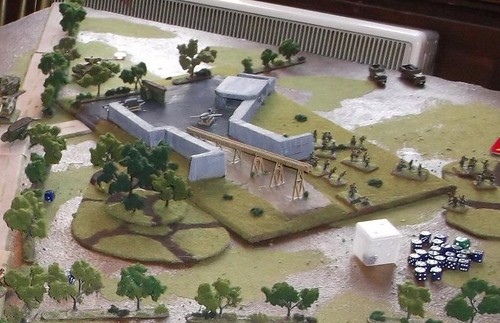
| A prime bit of real estate to fight over! |
 |
| You can get a sneak preview of the embanked roads here too! |
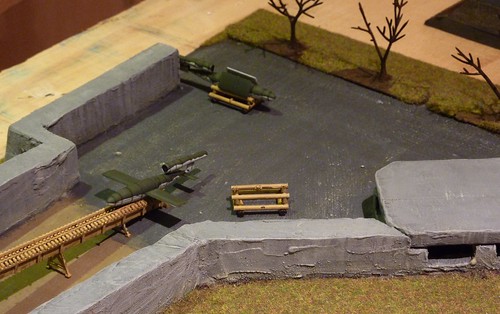 |
| The launch enclosure. The weathering effects on the walls are particularly apparent in this shot |
All that was left was to actually use it! Thankfully the tournament was the next day (nothing like leaving it to the last minute) where it got some ready use and much comment. Here's some shots that Nathan and I got over the weekend.
So, it's done. Now onto the next project. I see that Forged in Battle have a V2 on sale now. Hmm...
- Lee
Excellent stuff, Lee. How many hours do you reckon it took to finish?
ReplyDeleteHmm, good question. I was doing a couple hours here and there most evenings over Christams. I'd say its about ten-fifteen hours work, roughly.
ReplyDelete